Terms & Conditions
Step by Step Guide
1. Locate and Deploy the CA Gatekeeper VM in Azure
- Log into the Azure Portal at https://portal.azure.com.
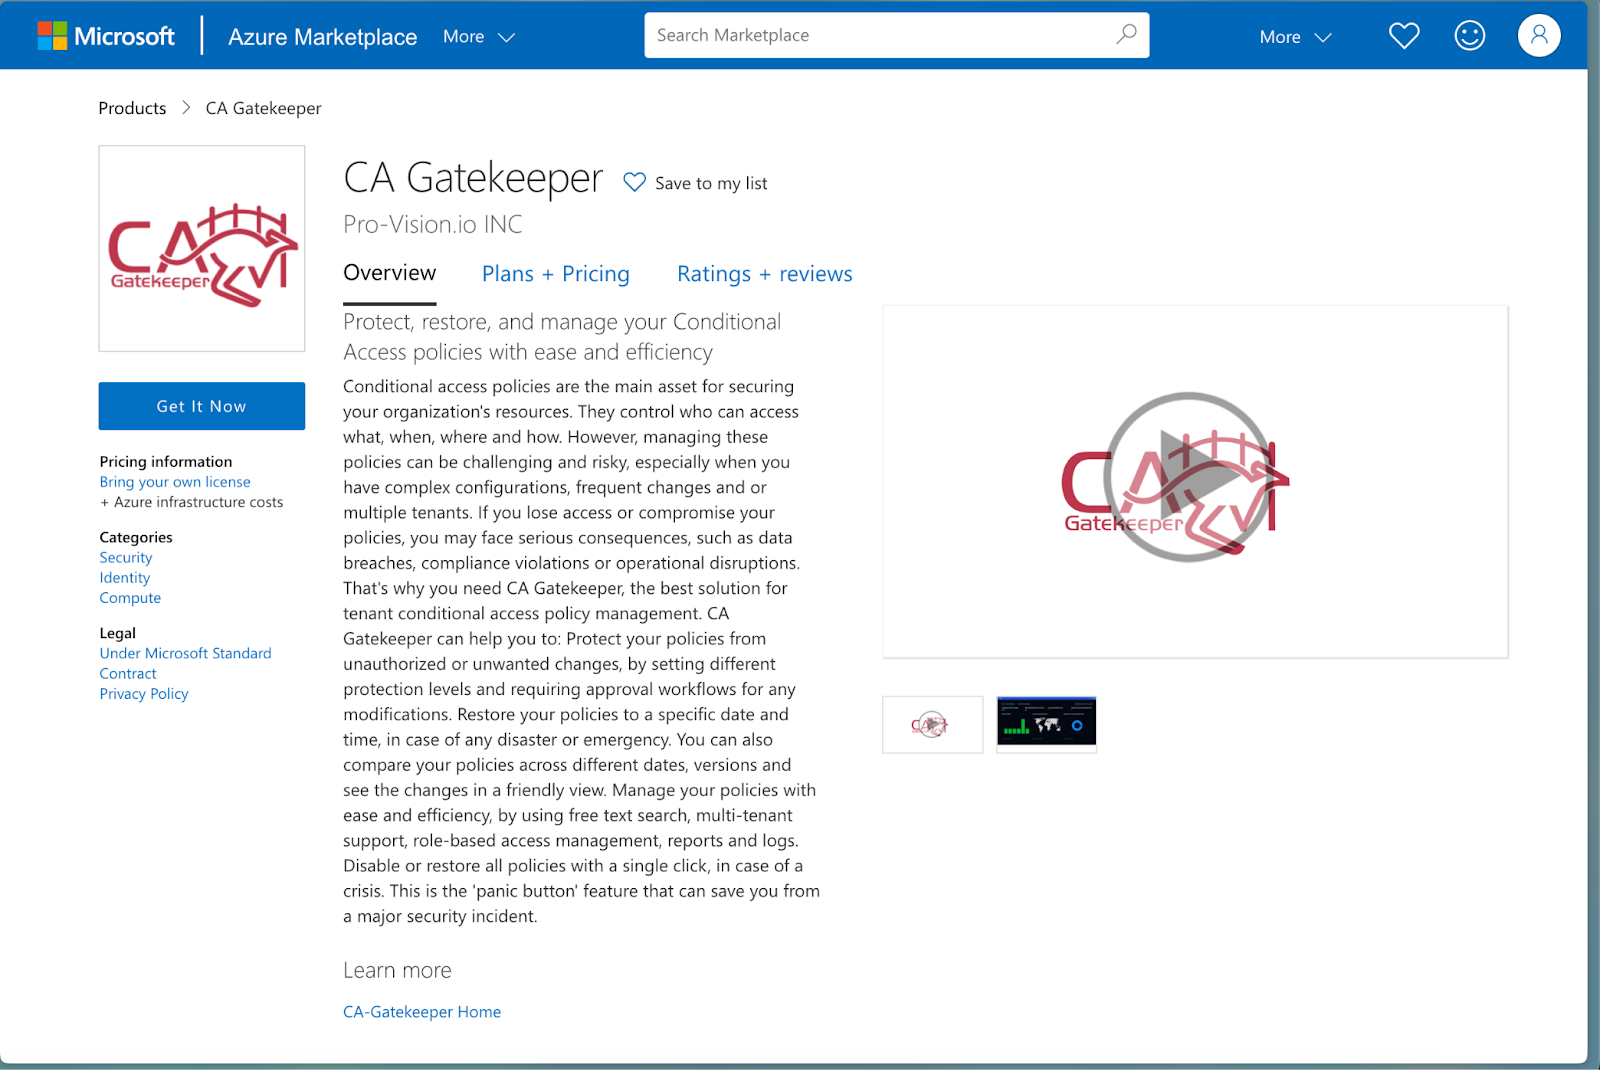
- Go to Azure Marketplace (or your private Marketplace if the image is only available internally).
- Search for “CA Gatekeeper” or locate your organization’s custom image for CA Gatekeeper.
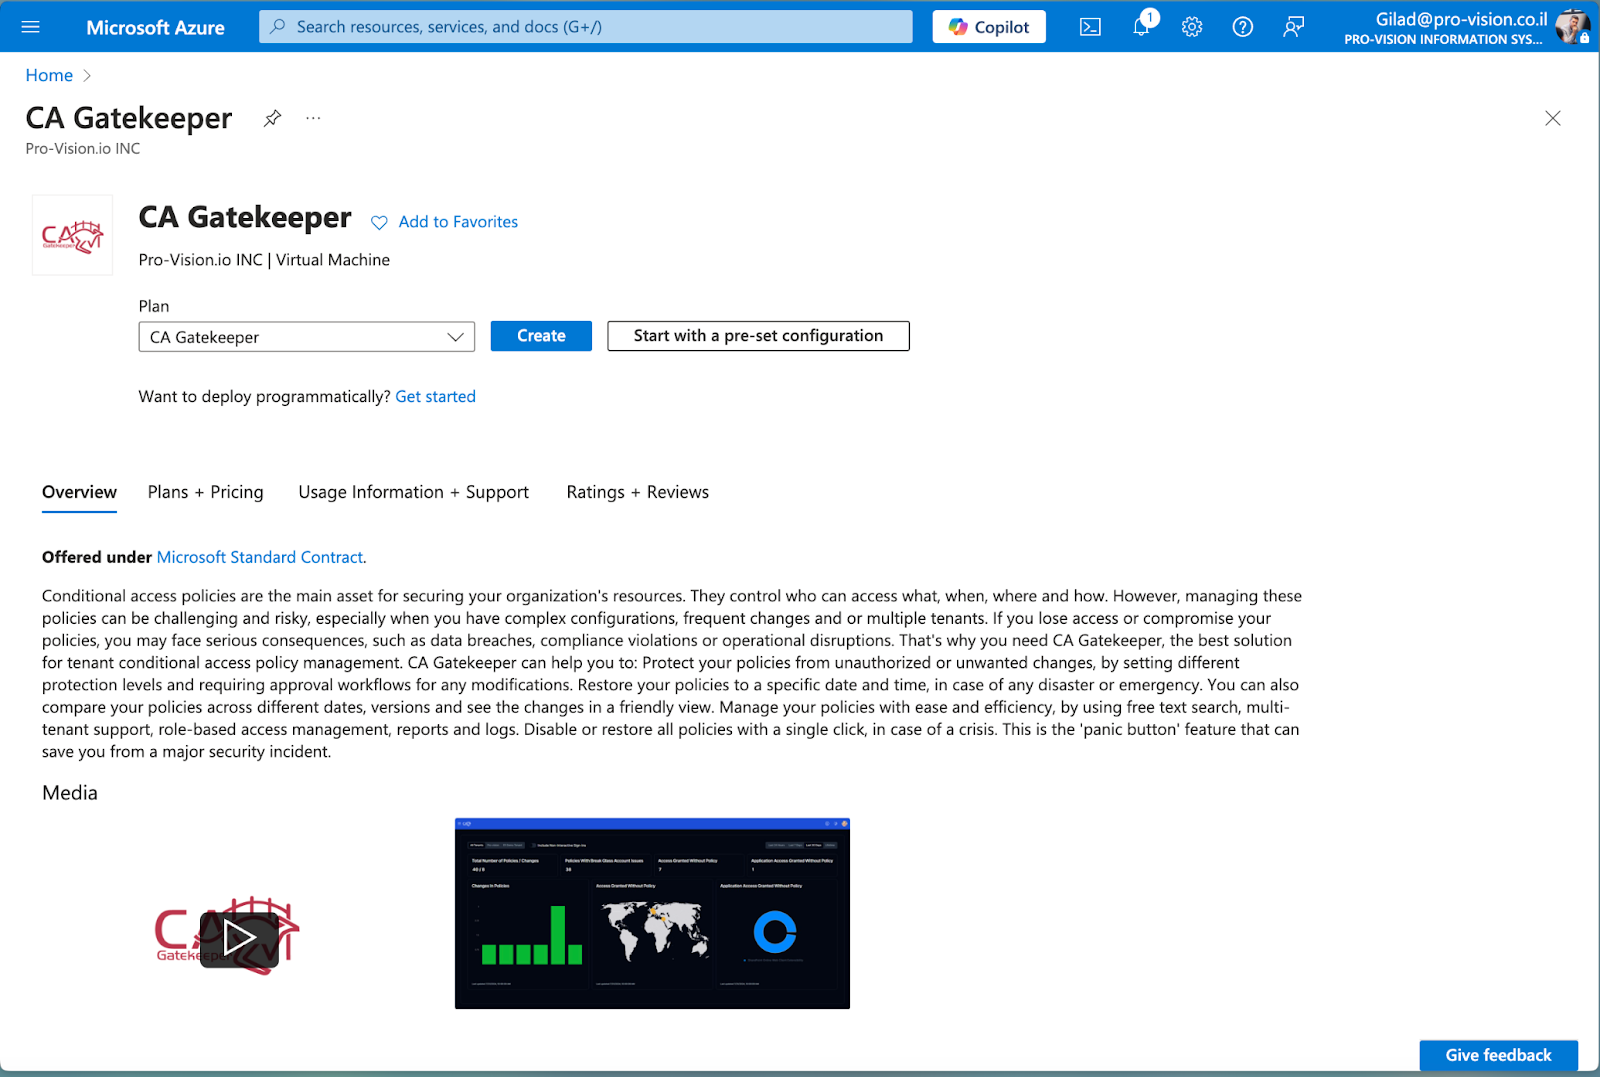
- Select the CA Gatekeeper VM image from the results and click Create.
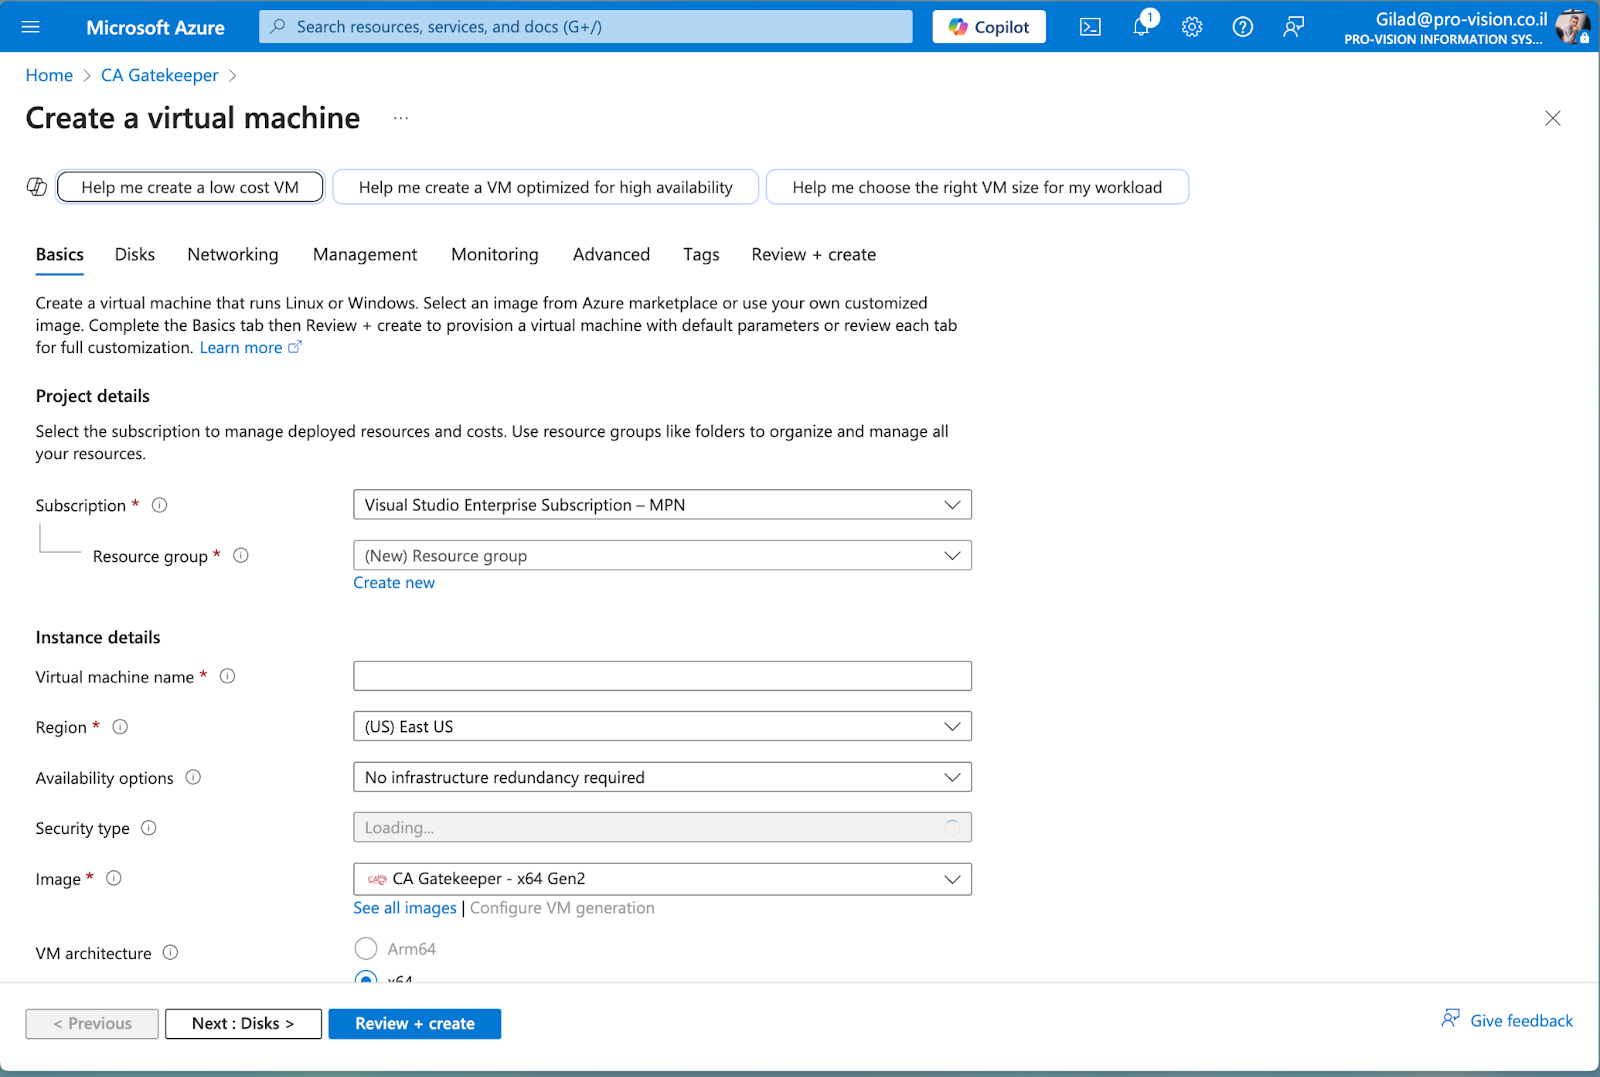
- Choose the Subscription, Resource group, Region, and the VM size.
- Provide a Name (e.g., CAGatekeeper-VM).
- For Administrator account:
- (Windows) Specify username and password.
- (Linux) Specify SSH keys or a password, depending on the base OS the CA Gatekeeper image uses.
- Make sure to allow inbound ports that CA Gatekeeper will use for its web UI (often port 443 for HTTPS).
- Review + Create the VM, then click Create once validation is passed.
2. Verify the VM Deployment
- Go to Virtual machines in the Azure Portal and find your newly created CAGatekeeper-VM.
- Confirm its Status is “Running.”
- Copy the Public IP address (or DNS name) so you can connect to the machine or its web interface.
3. Connect to the CA Gatekeeper Web Interface
Option A: Use a Browser Over HTTPS
- If your CA Gatekeeper VM is pre‐configured with HTTPS:
- In your local browser, navigate to https://<PublicIPAddress> or the DNS name assigned to the VM.
- If prompted with a security warning (self‐signed certificate), confirm or install the cert, or replace it later with a valid certificate.
- Log in using the default admin credentials supplied by CA Gatekeeper or your internal team.
Option B: RDP/SSH into the VM (for Windows/Linux administrative tasks)
- Click Connect on the VM’s Overview page in the Azure Portal.
- Select RDP (Windows) or SSH (Linux) and follow the prompts to open a remote session.
- Once logged in, verify that the CA Gatekeeper application or service is running. (E.g., on Windows, you might see a desktop shortcut or find the service in Services.msc.)
4. Perform Initial Setup in CA Gatekeeper
After logging in to CA Gatekeeper’s web interface, you should see a dashboard similar to your provided screenshots, with panels such as:
- Home: Summary of policies, changes, break‐glass accounts, etc.
- Conditional Access Policies: A listing of your Azure AD CA policies.
- Access Granted Without Policy: Sign‐ins that bypass CA policies.
- Managed Policies Change Requests: A workflow for requesting or approving changes.
- Restore Jobs Status: For rolling back or restoring older CA policies.
- … and so on.
(Optional) Change Default Password
- If the VM came with a default admin password, navigate to Settings → Users or a similar tab (depending on the CA Gatekeeper version).
- Update the admin password (and/or create new user accounts) to secure the installation.

5. Register CA Gatekeeper with Azure AD (for Managing Conditional Access)
To manage Conditional Access policies in Azure AD, CA Gatekeeper needs its own service principal or enterprise application with the appropriate permissions. You can often do this directly in CA Gatekeeper’s interface or manually in Azure AD:
Option A: Automatic Registration (via CA Gatekeeper Wizard)
- Go to Settings (or Configuration) in CA Gatekeeper.
- If a “Register with Azure AD” or “Connect to Azure AD” wizard appears, follow the on‐screen steps:
- Sign in with your Azure Global Admin or Privileged Role Admin account.
- Consent to the requested Microsoft Graph permissions for reading/updating Conditional Access policies.
- Once complete, CA Gatekeeper is authorized to read and modify your CA policies.
6. Assign Required Azure Roles
Depending on your environment, you may need to assign the Global Administrator or Conditional Access Administrator role to the CA Gatekeeper service principal so it can manage policies:
- In the Azure Portal, go to Azure Active Directory → Roles and administrators.
- Select the role (e.g., Global Administrator or Security Administrator).
- Click + Add assignment, search for the CA Gatekeeper app, and select it.
- Save, then wait a few minutes for the role to propagate.
7. Confirm CA Gatekeeper Connectivity and Functionality
Return to the CA Gatekeeper interface and check:
- Home: Should show you the total number of CA policies, changes, and other stats.
- Conditional Access Policies: If your Azure AD environment has CA policies, they should appear here with their protection status and break‐glass status.
- Access Granted Without Policy: Should populate with sign‐ins that bypass any policy, if relevant.
- Logs (Audit & Gatekeeper Logs): Confirm success messages or check for errors about permissions or licensing.
8. (Optional) Configure SSL/TLS and Domain Name
If your VM is currently accessible only by IP or using a self‐signed certificate, you can:
- Obtain an SSL/TLS cert (e.g., from your org’s internal CA or a public provider).
- Configure the CA Gatekeeper VM with the certificate, or set up an Azure Application Gateway / Load Balancer in front of the VM with SSL termination.
- Update your DNS to point a friendly domain (e.g., cagatekeeper.company.com) to the public IP or gateway.
9. Adding a Tenant in CA Gatekeeper
- Open the ‘Add Tenant’ Dialog
- From the main CA Gatekeeper interface, go to Settings (or Tenant / Basic Configuration, depending on your version).
- Click Add Tenant.
- A pop‐up labeled “Add Tenant” will appear.
- (Optional) Use the “Application Creation Script”
- At the top right of the dialog, you may see an Application Creation Script button.
- If you have not yet registered an app in Azure AD, clicking this might provide you with a prebuilt PowerShell or CLI script to automate creating the Azure application and assigning the correct permissions.
- Follow any on‐screen prompts or instructions to run the script in Azure (if applicable).
- Fill in Basic Tenant Details
In the Add Tenant form, fill out the following fields:- Display Name: A friendly name for your tenant (for example, “Contoso Production”).
- Tenant ID: Your Azure AD Directory (tenant) ID. To find it, go to Azure Active Directory → Properties in the Azure Portal.
- Application ID: The client/application ID from your Azure AD App Registration.
- Secret: The client secret you generated in Certificates & Secrets for that App Registration.
- Configure Alert Settings (Optional)
- Send alert messages from address: Enter the “From” address that alert emails will use.
- Send alert messages to: Enter one or more recipients to be notified (comma‐separated if multiple).
- Choose which alerts to enable:
- Alert on Not Applied Sign‐ins (Access Granted Without Policy)
- Alert on Policy Changes
- Alert on Admin Changes
- (Optional) Click Send Test Mail to verify that alerts can be sent successfully.
- Consent the Application Permissions
- CA Gatekeeper needs permission in your Azure tenant to manage/read CA policies.
- In the dialog, click Copy Consent Uri.
- Paste the URL into a new browser tab where you’re signed in with an Azure Global Admin (or appropriate admin) account.
- Consent to the permissions when prompted.
- Return to CA Gatekeeper once consent is granted.
- (Optional) Purchase a Subscription for the Tenant
- If you see a Purchase Subscription button, click it if your organization requires a valid license or subscription to enable CA Gatekeeper features for this tenant.
- Save Your Changes
- Click the Save button at the bottom of the dialog.
- The new tenant entry should now appear in your Tenants list (you can see it in the background table once you close the dialog).